Quick Answer: A leak noticed after descaling is not automatically damage caused by descaler or proof that the new brew unit failed. The exact XJ9 program intentionally discharges water through the frother connector, hot-water nozzle and drip tray, and asks for the tray to be emptied. First rule out a spill, an overflowing receptacle, a full or mis-seated tray, and a mis-seated tank. If fresh water then appears under the machine during normal use, unplug it and return it to the shop that performed the recent work.
Repair Service
XJ9 Leaking After a Rebuild?
Tell us your machine model, what was replaced, where the water appears, and your location. We will look for an experienced independent Jura repair technician who covers your area. There is no obligation to proceed.
Why This Leak Is Different
Our Jura leaking water guide maps every leak by location: the drip tray, the tank, the spout, and under the machine. It assumes a machine nobody has opened.
This guide is for a different case. Two things happened close together on an older machine. First, the brew unit was replaced, by you or by a shop. Then the machine was descaled, and now there is water where there was none before.
The sequence is useful service history, but it does not establish which internal component leaked. The safe owner task is to separate water discharged by the documented program from fresh water emerging under the housing.
The XJ9 is an older Impressa model from Jura’s professional line. Parts and model details differ between Jura generations, so this guide stays with checks that do not depend on the exact internal layout.
Step 1: Rule Out Normal Descaling Water
Descaling puts much more water into the drip tray than a normal day of coffee. Use the receptacle size and sequence specified in the XJ9 manual, empty the drip tray before you start, and empty it again when the machine asks. The cycle alternates between dispensing and soaking pauses.
Check these first:
- Did the tray overflow? A tray that filled during the cycle can spill as you slide it out. That water ends up under the front of the machine.
- Was the tray pushed fully home? A tray that sits slightly out can let water run past it.
- Was the container under the spout big enough? Water that missed or overflowed the container lands on the counter.
- Did the tank go back seated? You rinse and refill the tank mid-cycle. A tank refitted at an angle can leak at the seat. The tank section of our leaking water guide shows how to test the tank on its own. Our no water guide covers the tank valve.
Dry the counter, the tray bay and the tank seat. Empty and refit the tray. If no new water appears over the next day of normal use, the descale caused a spill, not a leak.
Step 2: Find When the Water Appears
Timing tells you more than location. Put a strip of dry paper towel under each side of the machine and under the tray. Then watch them through each phase below.
| When water appears | What it suggests | Who fixes it |
|---|---|---|
| Machine off and unplugged, tank in place | Tank valve or the seal in the tank seat | Owner first |
| Only during switch-on rinse or heating | Internal leak; the location is not owner-diagnosable | Technician |
| Only while a coffee brews | Internal leak associated with a pressurized cycle | Technician, or whoever did the rebuild |
| Drip tray fills much faster than before | Internal routing or sealing fault | Technician |
| Only during the descaling program | First repeat the exact XJ9 sequence with correctly sized receptacles; if it leaks beneath the housing, stop | Technician |
Write down what you see. A phone video of each phase helps a technician more than a description.
Step 3: Use the Exact XJ9 Descaling Sequence
The XJ9 instructions specify three JURA descaling tablets dissolved completely in 20 oz (600 ml) of water. They also direct the user to remove the cappuccino frother and place separate receptacles under its connector and the hot-water nozzle. The machine pauses and asks for the drip tray to be emptied. Follow the display and the exact manual; do not substitute a generic JURA sequence.
If the earlier cycle used a smaller receptacle, a tray that was not emptied when prompted, or a tank or tray that was not fully reseated, clean and dry the area before judging it as a machine leak. Do not repeat the descale merely to reproduce a leak.
Step 4: Record What Was Used
- The descaler. Jura specifies its own descaling product and does not approve vinegar in the manual. If the last descale used vinegar or an unknown product, tell the technician, but keep it as one clue rather than declaring it the cause.
- The recent repair. Keep the invoice and part description. The technician, not the owner, should decide whether the repaired assembly or another internal joint needs inspection.
For the Next Descale
Jura Descaling Tablets
The product specified for Jura’s guided program. Tablets do not fix a joint that already leaks.
If a Shop Did the Rebuild
Go back to them first. A leak that starts soon after the work is a fair question for whoever did it. Tell them:
- When the brew unit was replaced, and how many coffees the machine made before the descale.
- Which descaler you used.
- Where the water appears and when, from your Step 2 notes.
Ask whether they will check their own work before you take the machine elsewhere.
When to Stop and What to Tell a Technician
Stop and unplug the machine if any of these is true:
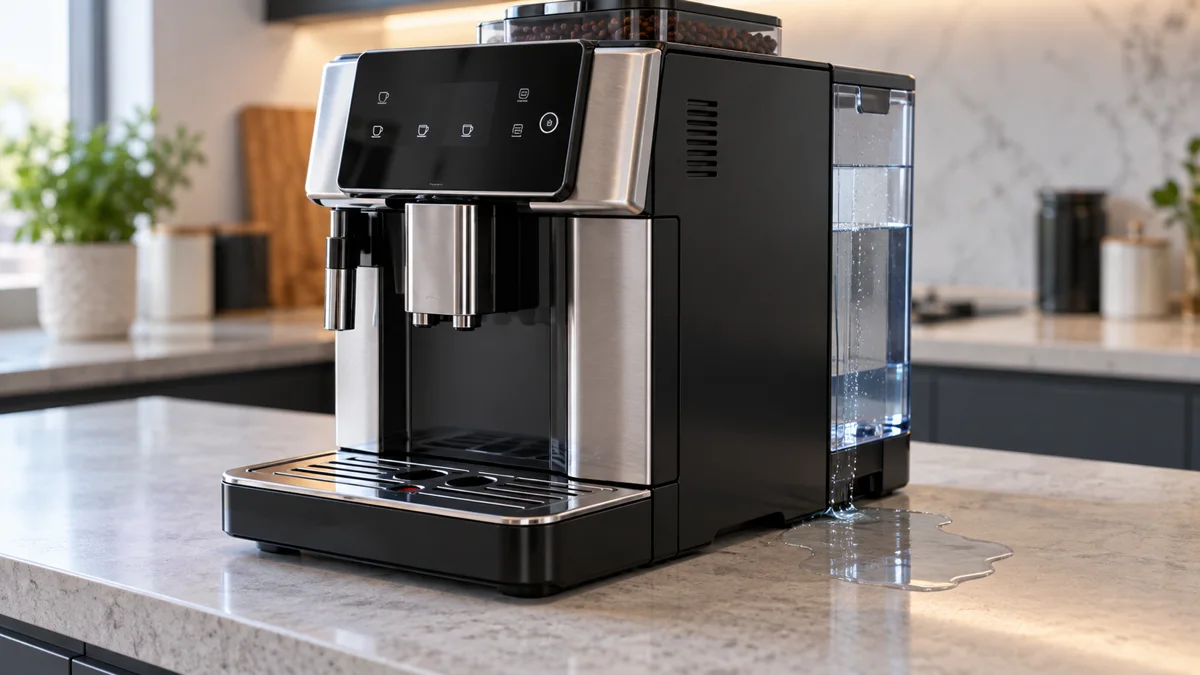
- Water collects under the machine with an empty, seated tray and a seated tank.
- Water appears only during heating, brewing or rinsing.
- The drip tray now fills much faster, with weaker coffee flow.
- You see water near the power cord, the plug or the outlet.
Do not keep running descales or rinses to see if the leak stops. Water inside the housing can reach electrical parts. Our Error 7 guide shows how water from a leak above a valve corrodes the valve motor.
If you are not sure what the water means, add a phone video of your paper towel test to a repair request. A technician can tell you whether it looks like a home fix or a bench job.
Repair Service
Leak Is Inside the XJ9?
Send us your model, what was replaced, and when the water appears. We will look for an experienced independent Jura repair technician who covers your area. There is no obligation to proceed.
What It Can Cost
We do not have a verified current repair price for this exact XJ9 leak. Ask the shop that performed the recent work whether inspection is covered, then request a written quote before authorizing additional work. Do not apply a generic JURA flat-rate figure to an older professional model without confirming eligibility and included work.
On an older machine that already needed a new brew unit, compare any further quote against a newer machine. Our repair vs replace guide helps you weigh it.
Frequently Asked Questions
Why does my Jura XJ9 leak after descaling when the brew unit is new?
The timing alone does not identify the failed part. Rule out water discharged by the documented program, then return a continuing under-machine leak to the shop that performed the work.
Is it normal for water to collect after a Jura descaling cycle?
Water in the tray and the spout container is normal. Water under the machine with an empty, seated tray is a leak.
Can the wrong descaler cause a leak?
Jura does not approve vinegar in the manual. Tell the technician if you used it, but do not assume it caused the leak without inspection.
Should I open the XJ9 again to find the leak?
No additional opening is an owner step in this guide. Return to the shop that performed the rebuild or use a qualified service technician.
Is it safe to keep using an XJ9 that leaks after descaling?
Not if water collects under the machine and did not come from the tray or the tank. Unplug it.
Related
- Jura Leaking Water - every leak by location
- Jura Error 8 - brew group faults and what a rebuild involves
- Jura Descaling Stuck - when the cycle will not finish
- Descaling Hub - every descaling guide in one place
- Jura Repair Service - find an independent repair technician
As an Amazon Associate, we earn from qualifying purchases at no extra cost to you.