Quick answer: If a Jura becomes weak immediately after burr replacement, do not assume the new burrs are defective. Confirm the dose, inspect the grounds path for compacted fines, start the new burrs at a moderate grind, brew three purge cups, and compare again. A grinder can sound normal while a partially blocked chute starves the brew group.
Why New Burrs Can Reveal an Old Blockage
Worn burrs cut slowly and produce a different particle distribution. The machine’s previous grind position and dose behavior developed around that wear. Fresh burrs bite more effectively. If they are installed at the old fine setting, the grinder may create fines faster than the chute can pass them, especially when old compacted coffee already narrows the path.
The result looks contradictory: the motor runs, fresh grounds exist, yet the drink is thin. The missing link is transport between grinder and brew group.
Diagnose in This Order
1. Establish a Repeatable Baseline
Use the same beans, strength, drink size and temperature for every test. Empty and dry the grounds container. Brew three cups after the repair before judging flavor because retained old grounds and grinder adjustment lag can distort the first cycles.
2. Check Dose, Not Just Crema
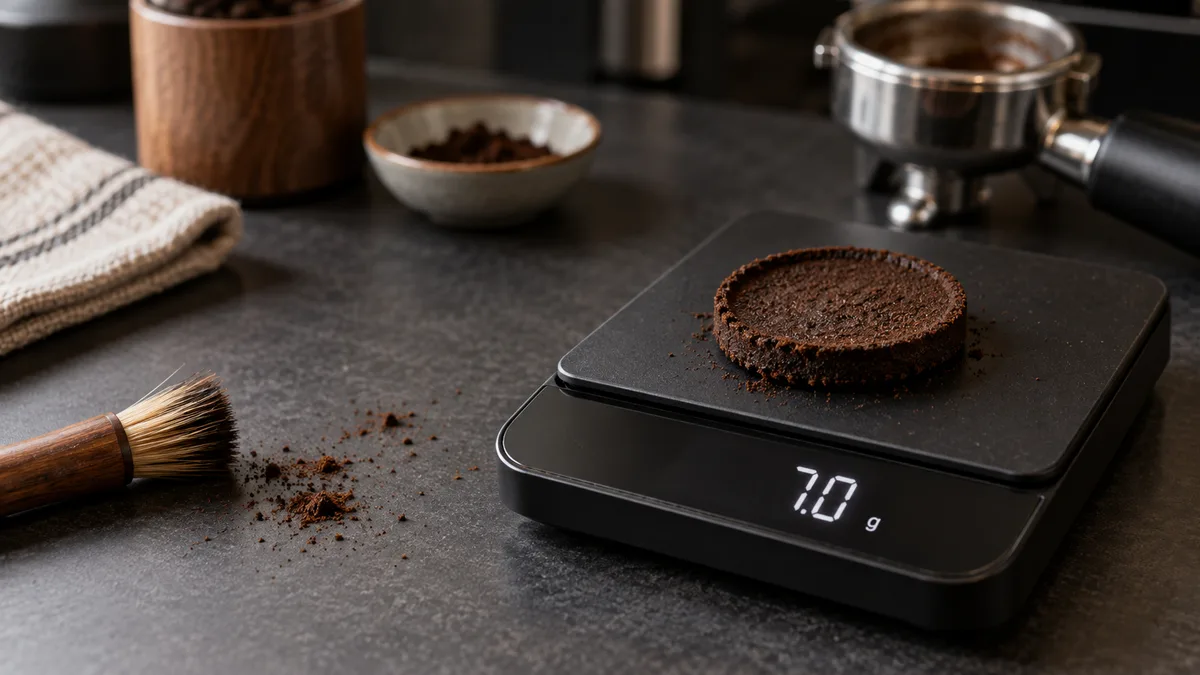
Crema changes with bean age and roast, so it is not a dose gauge. Compare several pucks from identical recipes. Wet puck weight includes retained water and is not an official Jura calibration value, but a consistent large difference before and after the fault can show that less coffee is reaching the brew unit.
Do not chase one universal gram target across X8, Z10, S8 and E8 machines. Their recipes and maximum doses differ. Your useful number is the repeatable baseline for the exact machine and drink.
Build the baseline from at least three identical cycles. Record drink selection, aroma strength, programmed volume, grinder position, bean and puck weight. The pattern matters more than a single wet puck, which can gain or lose grams simply through drainage.
3. Inspect the Grounds Chute
Power the machine off, unplug it and follow the service access appropriate to the model. Do not put fingers or tools near a grinder that can energize. Look for a hard collar of fines, an oily plug or grounds packed where the chute narrows.
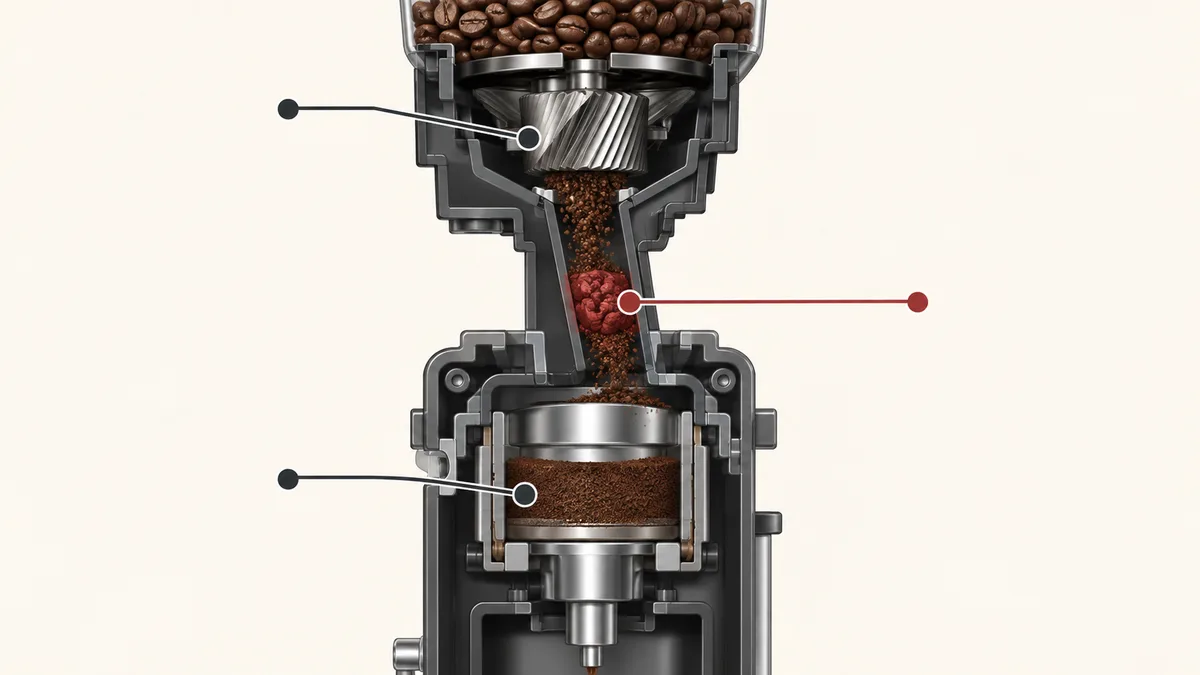
Accessible loose grounds can be removed with a dry, soft brush and vacuum used carefully outside the machine’s electronics. Do not pour water into the grinder or chute. If clearing the path requires cabinet removal, wiring disconnection or grinder alignment, stop and use a repair technician.
4. Reset the Grind Conservatively
Return to the middle of the adjustment range or slightly coarser. Brew three cups, then move one step at a time. On models whose manuals say to adjust only while the grinder runs, follow that instruction to protect the mechanism.
Too coarse can taste thin and fast. Too fine can slow the dose path, create excess fines and strain the system. The best setting is the finest one that remains reliable with your beans and recipe, not the finest mark on the dial.
5. Separate Chute Trouble from Repair Trouble
If the chute is clear but dose remains low, re-check burr orientation, carrier seating, calibration and drive coupling. A high, unloaded motor sound suggests that beans are not engaging. A labored sound or repeated interruption points toward obstruction or excess fineness. Stop repeated testing if the grinder sounds distressed.
Read the Cup Alongside the Machine
A normal dose can still taste weak if the programmed beverage is too long. Compare a short espresso before judging a large coffee. If the espresso has body but the large drink is thin, reduce beverage water or add a second coffee cycle rather than reopening the grinder.
Beans matter too. A very light roast may taste sharp and thin at superautomatic temperatures, while old beans can produce little aroma regardless of burr condition. Test with a known fresh, dry-surfaced medium roast before declaring the repair unsuccessful.
If the coffee became weak gradually before the repair and stayed weak afterward, the machine may have two problems. Scale, brew-unit seal wear or a drainage fault can reduce extraction even after the grinder dose is restored. Watch for excess water in the tray, unusually loose pucks and a brewing sound that differs from the pre-fault baseline.
A Safe Post-Repair Test Plan
- Confirm the hopper contains suitable beans and the gate is open.
- Set the grinder around its middle range.
- Select one short coffee recipe at a fixed high strength.
- Brew three purge drinks without adjusting anything.
- Record the next three puck weights and taste the third drink.
- Change the grinder one step only if flow and dose are stable.
- Repeat before making another change.
This is slower than moving straight to the finest setting, but it protects the new parts and produces evidence a technician can use.
What Not to Do
- Do not add water or rice to clean the grinder.
- Do not turn directly to the finest setting.
- Do not judge the repair from the first cup.
- Do not keep forcing cycles through an abnormal sound.
- Do not assume cleaning tablets clean the grinder; Jura’s tablet program cleans the coffee path after grinding.
When the Case Needs a Technician
Stop home diagnosis when access requires removing the housing, the grinder stalls, the machine smells hot, wiring has been disturbed or calibration marks are unknown. Grinder work combines sharp parts, stored settings and mains-powered components. An incorrect carrier position can damage new burrs or create an unsafe grind load.
Tell the technician exactly what changed after the repair: motor sound, dose, grind time, puck consistency, beverage flow and any error message. “Weak coffee” is subjective; those observations shorten diagnosis.
Prevention After the Fix
Use dry-surfaced beans rather than heavily oily dark roasts, keep the hopper free of foreign material and avoid changing grind while the machine is idle when its instructions require a running adjustment. Do not let old grounds accumulate during a grinder repair. Clearing the accessible chute before installing fresh burrs prevents the new grind from meeting an old plug.
Cleaning tablets remain important for the brewed-coffee path, but they are not a substitute for a clear mechanical grounds route. Treat those as separate maintenance systems.
The X8 Lesson That Applies to Other Jura Models
The owner case involved an X8, but the reasoning transfers to any Jura in which the grinder delivers coffee through a chute to an enclosed brew group. A replaced part can work correctly while debris elsewhere limits the result. Always verify the entire path: beans enter, burrs cut, grounds travel, the brew group receives a repeatable dose, and the programmed water volume matches it.
That systems view prevents repeated parts replacement. It also gives a repair shop measurable evidence instead of a vague taste complaint. If clearing the chute restores dose and body, the new burrs were not the failure; they exposed the restriction.
Confirm compatibility with the exact grinder generation before ordering.
Check available Jura grinder burrs →Repair Service
Need a Jura Repair Technician?
Tell us your machine, the problem, and your location. We will look for an experienced repair technician who covers your area. There is no obligation to proceed.