Quick Answer: If your Jura E8 leaves water where the tank meets the machine, and the tank seals and the CLARIS filter look fine, go further before you call a technician. First prove where the water really comes from with a dry paper towel test. Then test the tank alone for an hour to rule out a hairline crack. Check that the valve pin at the base of the tank springs back fully, and that the seat in the machine is clean and level. Last, note when the water appears. Water that shows up only while the machine heats or rinses usually comes from inside the housing. That is a technician job.
Repair Service
E8 Still Leaking at the Tank?
Tell us your machine model, where the water appears, and your location. We will look for an experienced independent Jura repair technician who covers your area. There is no obligation to proceed.
What This Guide Adds
Our Jura leaking water guide maps every leak by location. Its tank section covers the two seals that fail most often: the O-ring on the valve at the base of the tank, and the inlet gasket in the seat below it.
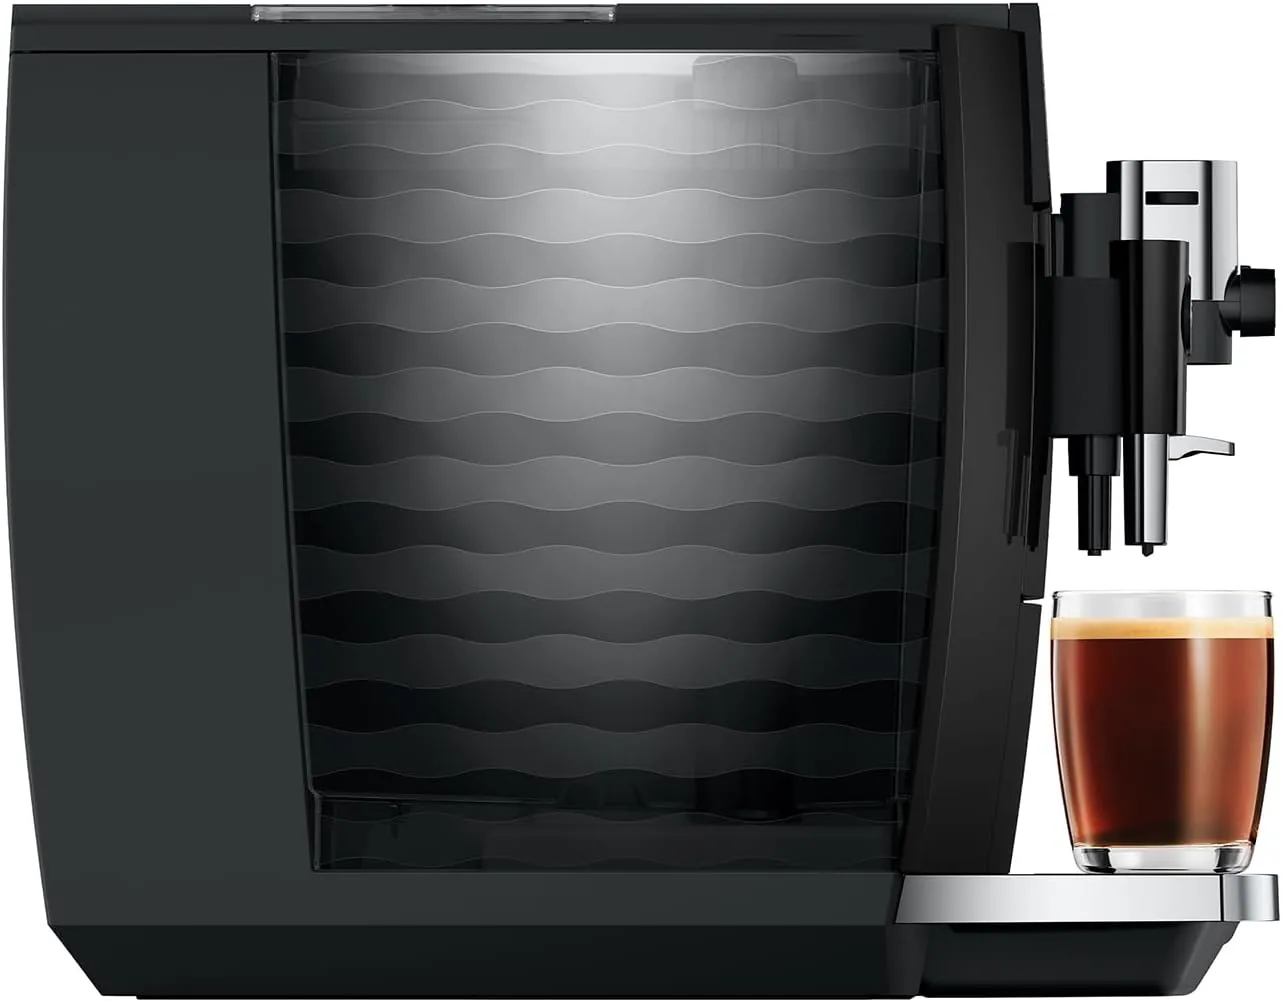
This guide is for the owner who checked those seals and the filter and still finds water. The checks below come next, in order. Most need no tools and no parts. On the E8, the base of the 1.9 litre tank has a spring-loaded valve that opens when the tank is fully home on its seat. Everything here happens at that joint.
Step 1: Prove the Water Comes From the Tank Connection
Water near the tank can also come from the drip tray, a spill, or inside the housing. Do this test first.
- Unplug the machine. Lift out the tank, and empty the drip tray.
- Dry the counter, the tank seat, and the area around the machine.
- Tuck a strip of dry paper towel under the machine below the tank, and a second strip under the drip tray.
- Refit the tray. Fill the tank outside the machine, wipe it dry, and seat it.
- Leave the machine unplugged for 30 minutes. Then check both strips.
If the tank-side strip is wet with the machine off, the leak is at the tank, the valve or the seat. Go to Step 2.
If both strips stay dry, plug in, switch on with a cup under the spout, and make one coffee. Water that appears only now is a different case. Skip to Step 6.
Step 2: Test the Tank on Its Own for Longer
The leaking water guide suggests ten minutes on a towel. A fine crack can take longer to show, so give it an hour.
- Fill the tank to the max line and dry the outside, including the valve.
- Stand it on a dry paper towel, away from the machine, for an hour.
- Check the towel. Then hold the empty tank up to a bright light and look along the base, the corners, and the valve housing.
A damp ring around the valve points to the valve O-ring. A damp spot elsewhere, or a fine line in the plastic, points to a cracked tank, often after a knock or drop. Replace a cracked tank. If the towel stays dry, the leak happens only with the tank in place. Go to Step 3.
Step 3: Check the Valve Pin and Its Spring
The valve pin must close fully when you lift the tank. A pin that sticks part-way lets water through at the wrong time.
- Empty the tank, turn it over, and press the pin gently. It should move freely and spring back fully.
- Look for scale crust, coffee grounds, or a descaling tablet fragment around the pin.
- Rinse the valve under warm water while you work the pin. A soft brush helps with crust.
Our Z10 tank guide gives the same check for a stuck pin, and it applies to the E8 too. If the pin still sticks after cleaning, or it sits crooked, the valve needs a new seal or the tank needs replacing.
Do not order a generic O-ring from appearance alone. Confirm compatibility against the E8 article number or replace the complete tank through a JURA parts source.
Step 4: Check the Seat in the Machine
With the tank out, shine a flashlight into the seat.
- Debris. Grounds, scale, or a tablet fragment can hold the tank slightly proud, so the valve opens but does not seal. Wipe the seat dry.
- Standing water. Dry any pool in the seat, and check whether it returns with the tank in place and the machine off.
- The inlet gasket. Look at the rubber ring in the seat. It should be round, soft, and sitting flat. A gasket that looks flattened, cracked, or tilted matches the hardening that parts suppliers describe in our leaking water guide.
Reseat the tank firmly and evenly. It should sit flat with no rocking.
Step 5: Rule Out Spills and a Sloping Counter
- Filling in place. Topping up the tank in the machine lets water run down its outside into the seat. Lift the tank out to fill it, and wipe it before you seat it.
- Overfilling. Water above the max line can slosh out when you carry the tank.
- A sloping surface. Jura’s manual says to place the machine on a horizontal surface. On a counter that slopes toward the tank, water from the tray area can collect there. A phone level app checks this in seconds.
Step 6: Note When the Water Appears
Timing tells you more than location. Watch the paper towel strips during each phase and match your result to this table.
| When water appears | What it suggests | Who fixes it |
|---|---|---|
| Tank in place, machine off and unplugged | Tank valve, seat gasket, or tank crack | Owner first (Steps 2 to 4) |
| Only right after you seat the tank | Tank not fully home, or debris on the seat | Owner |
| Only while you fill or carry the tank | Spill or overfill | Owner |
| Only while the machine heats, brews, or rinses | Water path inside the housing | Technician |
| Under the machine with a dry tank seat | Internal leak that runs out near the tank | Technician |
Water from inside the housing can run along the base and come out near the tank, while the seat stays dry. If that is your result, unplug the machine and stop using it. Our Error 7 guide shows how water from a leak can corrode parts inside the machine.
A Word on the Filter
The CLARIS filter sits inside the tank, so it rarely puts water outside the machine. A filter that is not fully clicked in stops flow instead, as our no water guide explains. The E8 takes the grey CLARIS Smart or Smart+ cartridge; our CLARIS filter guide explains the difference.
Filter Due for a Change?
Jura CLARIS Smart+ Filter
Fits the E8 and every Smart-slot Jura. A filter does not stop a leak at the tank seat.
When the Tank Level Drops but You See No Water
Every coffee, switch-on rinse, switch-off rinse, and milk rinse uses tank water, and most of it ends up in the drip tray. A tank that empties fast on a busy day is normal. To test it, mark the water level with tape, unplug the machine, and leave it unused overnight.
If the level is the same, the water went into drinks and rinses. If the level dropped and the counter is dry, water may be passing the valve into the machine. That is a technician case.
When to Stop and What to Tell a Technician
Stop and unplug the machine if any of these is true:
- Water appears under the machine while the tank seat stays dry.
- Water appears only during heating, brewing, or rinsing.
- The leak comes back after you cleaned the valve, dried the seat, and reseated the tank.
- You see water near the power cord, the plug, or the outlet.
Jura’s manual says not to remove any service covers. If your E8 is under warranty, contact Jura first.
Tell the technician the model, where the water appears, and when. A phone video of the paper towel test helps. If you are not sure what you are looking at, add that video to a repair request, and a technician can tell you whether it looks like a home fix.
Repair Service
Leak Is Inside the E8?
Send us your model, where the water appears, and when it appears. We will look for an experienced independent Jura repair technician who covers your area. There is no obligation to proceed.
What It Can Cost
We do not have a verified current price for an E8 tank-connection repair or a confirmed universal seal kit. Ask for the exact part number against the machine’s article number, and get a written quote before authorizing internal work. Factory-service eligibility, shipping and included work can change.
If an older E8 needs more than one repair, our E8 review covers what the current generation offers.
Frequently Asked Questions
Why does my Jura E8 leak where the water tank connects?
Usually a tank that is not seated, a worn valve O-ring, or a hardened inlet gasket. After that, check for a cracked tank, a sticking valve pin, spills, and internal leaks that collect near the tank.
How do I know if the water tank itself is cracked?
Stand the full, dry tank on a paper towel for an hour, away from the machine. Then check the towel and look at the base against a bright light.
My E8 tank level drops but I see no puddle. Is it leaking?
Not always. Drinks and rinses use tank water. Mark the level and leave the machine off overnight. A drop with the machine off is a technician case.
Can I fix a leaking tank connection on an E8 myself?
You can clean, reseat, or replace the tank and its valve seal. Anything behind the housing is a job for a technician.
Is it safe to keep using an E8 that leaks at the tank?
Yes if the cause was a loose or overfilled tank. No if water collects under the machine and you cannot trace it to the tank. Unplug it.
Related
- Jura Leaking Water - every leak by location, with the two tank seals
- Jura No Water Coming Out - tank valve, filter seating, and airlocks
- Jura Troubleshooting Guide - every symptom in one place
- Jura Cleaning Schedule - routine care that keeps scale off the valve
- Jura Repair Service - find an independent repair technician
As an Amazon Associate, we earn from qualifying purchases at no extra cost to you.