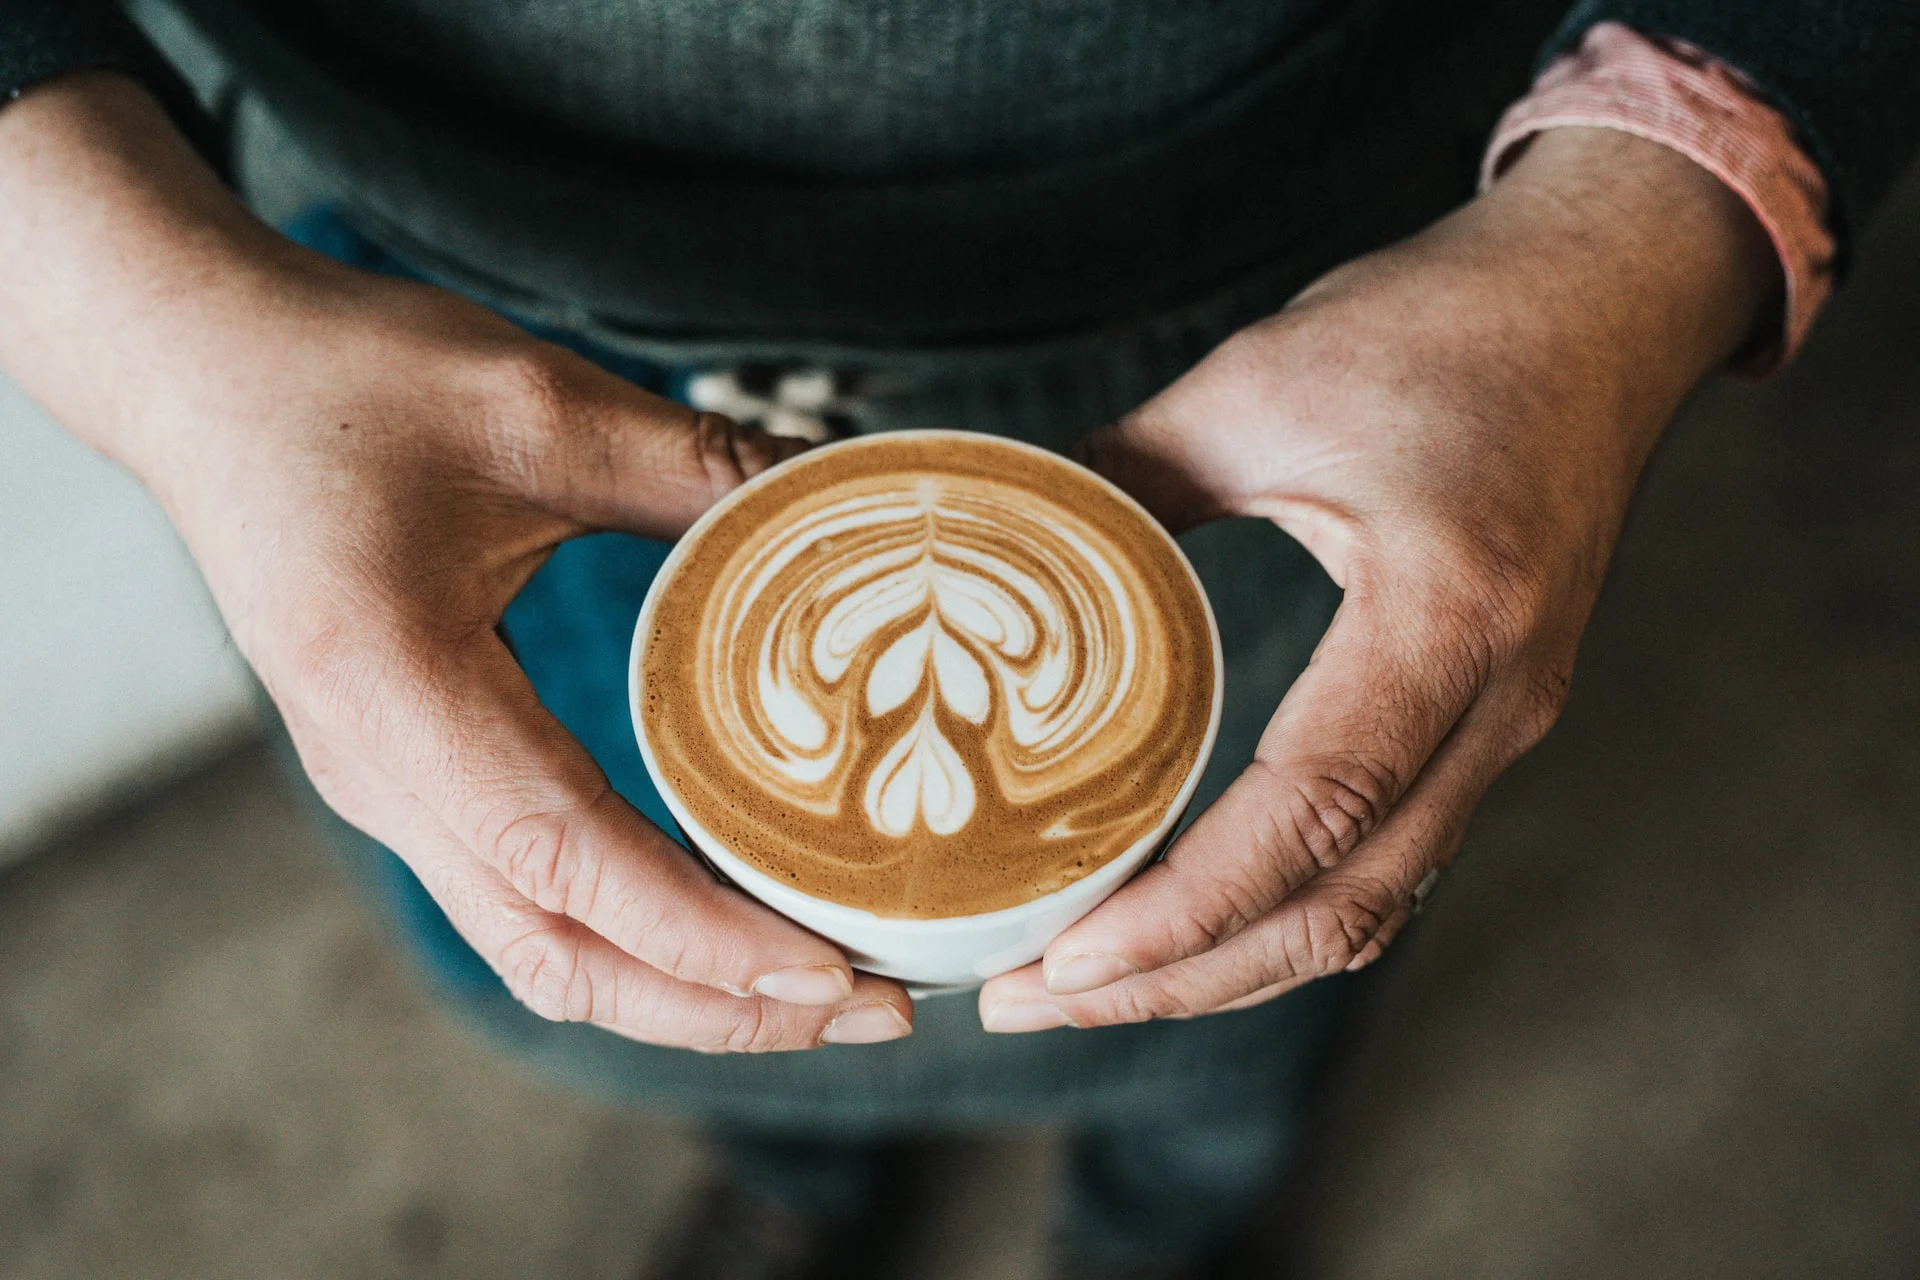
Latte art with a super-automatic machine is challenging but not impossible. You will not replicate what a barista does with a manual steam wand, but with the right technique you can create simple patterns that look great and impress guests.
Setting Expectations
Be honest about the limitations. Jura machines froth milk directly into the cup through a spout. Traditional latte art requires pouring free-flowing steamed milk from a pitcher. These are fundamentally different processes.
What you can achieve with a Jura:
- Simple dot and heart patterns using a post-frothing pour technique
- Layered drinks (latte macchiato) with visible milk-espresso separation
- Etched designs using a toothpick or latte art pen after the drink is made
What requires a manual steam wand:
- Rosetta (leaf) patterns
- Complex multi-layer pours
- Competition-level latte art
The Post-Frothing Pour Method
This is the most practical approach for Jura owners:
Step 1: Froth milk into a separate pitcher
- Use a stainless steel milk frothing pitcher (350-500ml)
- Run the milk frothing cycle into the pitcher instead of directly into your cup
- Set foam density to medium-low for the smoothest, most pourable texture
Step 2: Prepare your espresso
- Brew a standard espresso directly into your cup
- Use a wide, shallow cup (a cappuccino cup works best - 150-180ml)
Step 3: Pour
- Swirl the pitcher gently to integrate the foam with the steamed milk
- Start pouring from about 3-4 inches above the cup, into the center
- As the cup fills to about two-thirds, bring the pitcher closer to the surface
- When the pitcher is almost touching the milk surface, gently wiggle side to side while pouring to create a pattern
- Finish by pulling the stream through the center of the pattern
Step 4: Practice
- This takes practice. Expect 10-20 attempts before you see recognizable patterns.
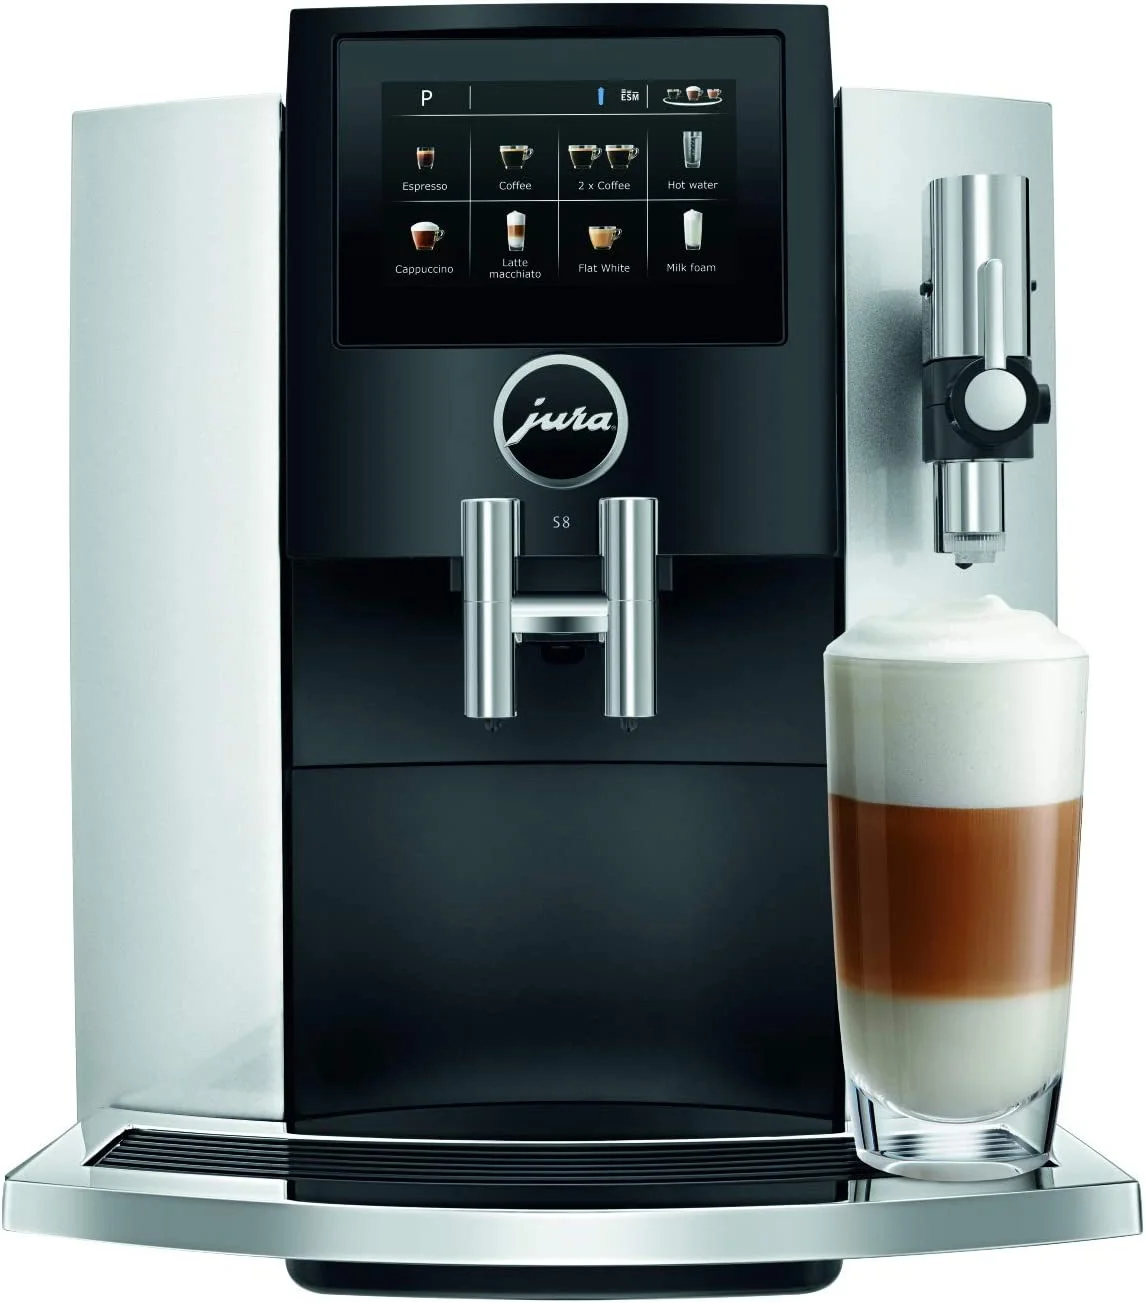
- The quality of your foam matters enormously. Only fine-foam models (E8, S8, Z10) produce foam smooth enough for this technique.
Etching Technique
An easier alternative to free pouring:
- Make a standard cappuccino or latte with the Jura dispensing directly into your cup
- While the foam is still wet, use a toothpick, wooden skewer, or latte art pen
- Drag through the foam to create simple designs: hearts, swirls, leaf shapes
- Work quickly - the foam sets within 30-60 seconds
Etching works with any Jura milk system, including basic frothing models.
Milk Tips for Latte Art
- Use whole milk. Higher fat content creates more stable foam that holds patterns better.
- Use cold milk. Starting cold gives the frothing system more time to create smooth, stretchy microfoam.
- Set foam density to medium-low. Thick cappuccino foam does not pour well for art. You want thin, silky microfoam.
- Practice with water first. Fill a pitcher with water and a drop of dish soap. Practice the pouring motion into a cup to build muscle memory without wasting milk.
Which Jura Models Work Best for Latte Art?
Fine-foam models are essential for the free-pour technique. Basic frothers produce foam that is too coarse and bubbly.
- E8: Good fine-foam quality. Affordable entry point for latte art attempts.
- S8: Same fine-foam quality with a larger touchscreen for easier foam density adjustment.
- Z10: Best foam consistency due to the advanced milk system. Also offers more foam density options.
For etching, any Jura with a milk system works.
Realistic Results
With practice, most Jura owners can achieve:
- Simple heart shapes (pouring method)
- Dot patterns
- Swirl designs (etching)
- Layered latte macchiato presentations
Do not expect Instagram-perfect rosette art from a super-automatic. If latte art is a serious priority, a semi-automatic machine with a steam wand (like a Breville) gives you much more control. See our Jura vs Breville comparison.
Ready to Start?
The E8 is the most affordable Jura with fine-foam technology for latte art attempts. Pair it with a good stainless steel frothing pitcher and whole milk.
Best for Latte Art
Jura E8 - Fine Foam Technology
The most affordable Jura with fine-foam for the free-pour technique. Pair with a stainless steel pitcher and whole milk.
Back to all guides | See also: Milk frothing guide | Brewing guide | E8 review
Latte Art Setup
A practical setup for better foam texture and easier pouring.
As an Amazon Associate, we earn from qualifying purchases at no extra cost to you.

Latte Tools & Accessories
Pitchers and prep tools improve control while learning core techniques.
View on Amazon